Not expensive and handy 3D-printer He3D
Good time of the day to everyone. Today I present you an overview of "He3D" 3D printer. This review will be interesting because it comprises a period of over five months of working with this printer. This is not just a story about its purchase, but also a pretty detailed guide on assembly, printing and upgrade opportunities.What does this review comprise? There will be unboxing, set content, assembling (with video), initial setup, tool kit, printing, applicability. I will also show you how I made a plotter, a laser engraver from this printer and how assembled a plastic washer and a print-server.
The choice of He3D was was made due to the design on the profile, the MKS BASE 1.5 board and the low price. I consider it a pleasant bonus that tis is a DIY KIT (assemble it yourself).
I purchased basic configuration. You can take immediately with two or three extruders and an enlarged print table.
Main features:
Printing area (x,y,z) - 200х200х200 mm;
Layers' resolution - 100 micron;
Maximum speed of printing: 150 mm/s;
Printing accuracy: 0.1-0.4 mm;
Printing head: from 1 up to 3x pcs.;
Positioning accuracy along axes x,y: 0.012 mm;
Positioning accuracy along axis z: 0.004 mm;
LCD display: available;
Nozzle temperature: minimum 260 °С;
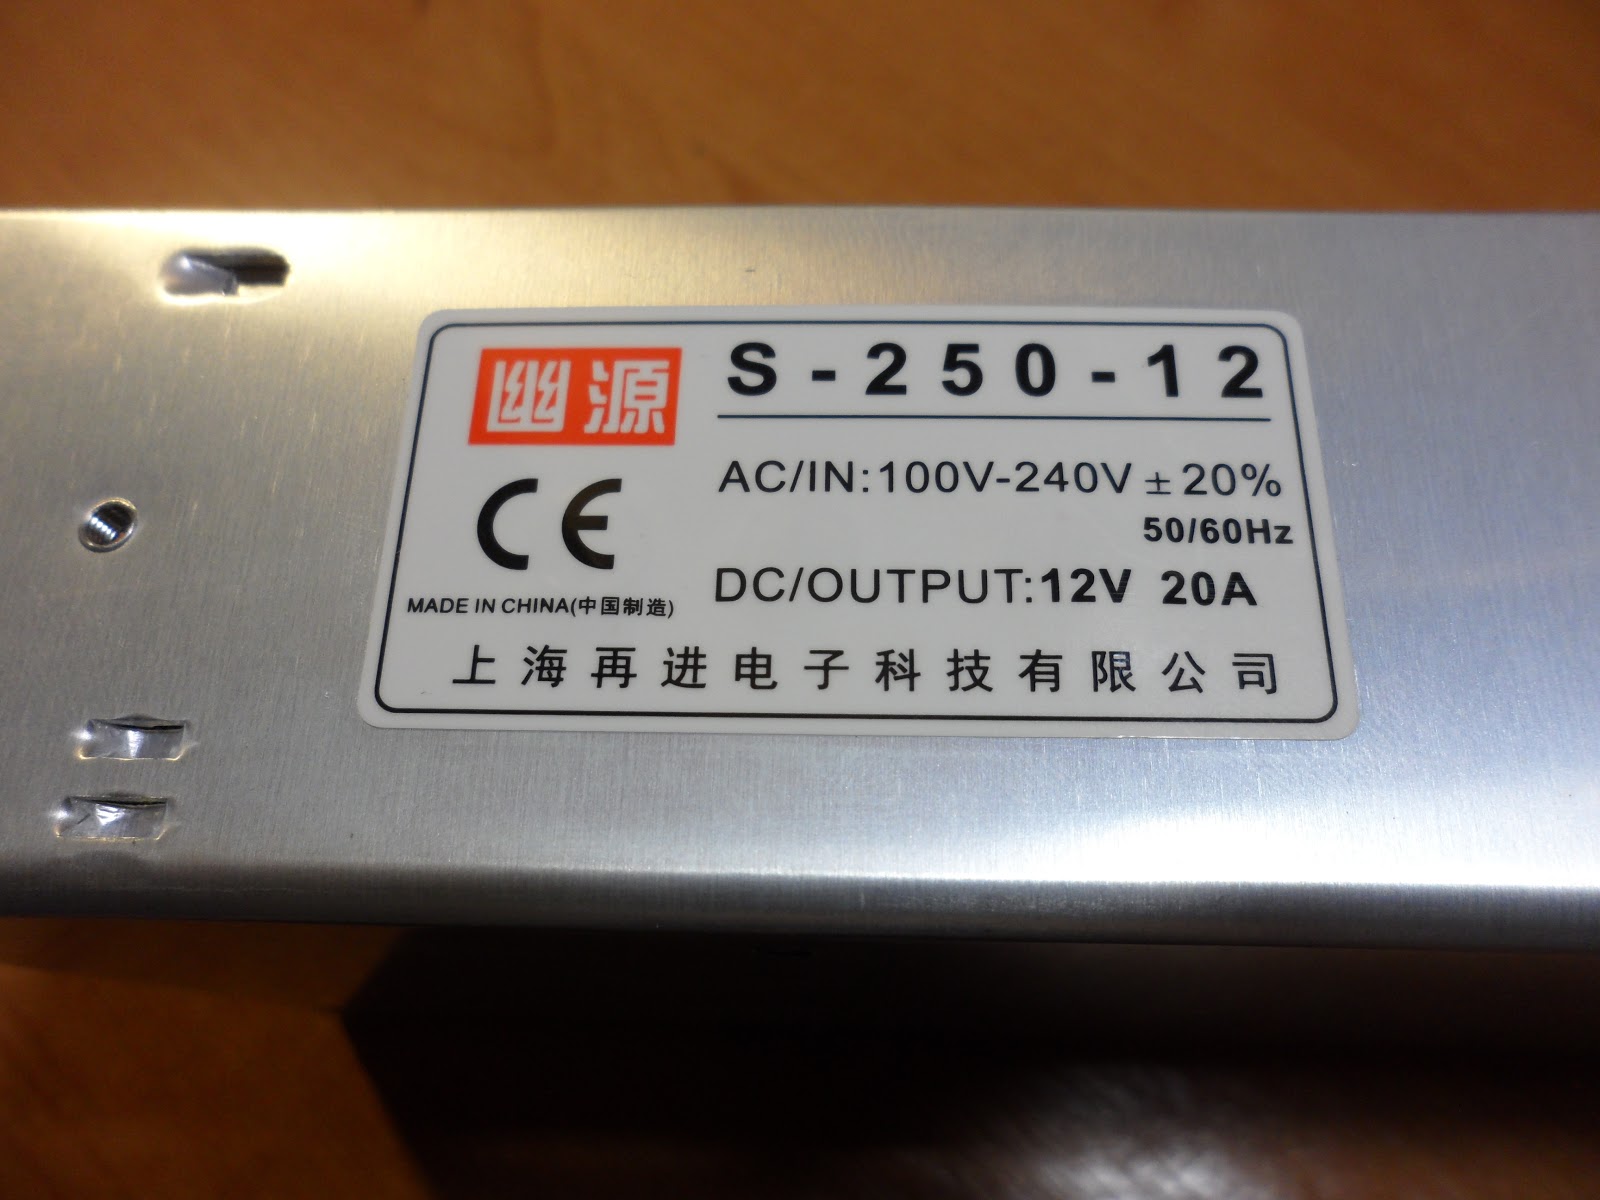
Power block: DC 12v/250;
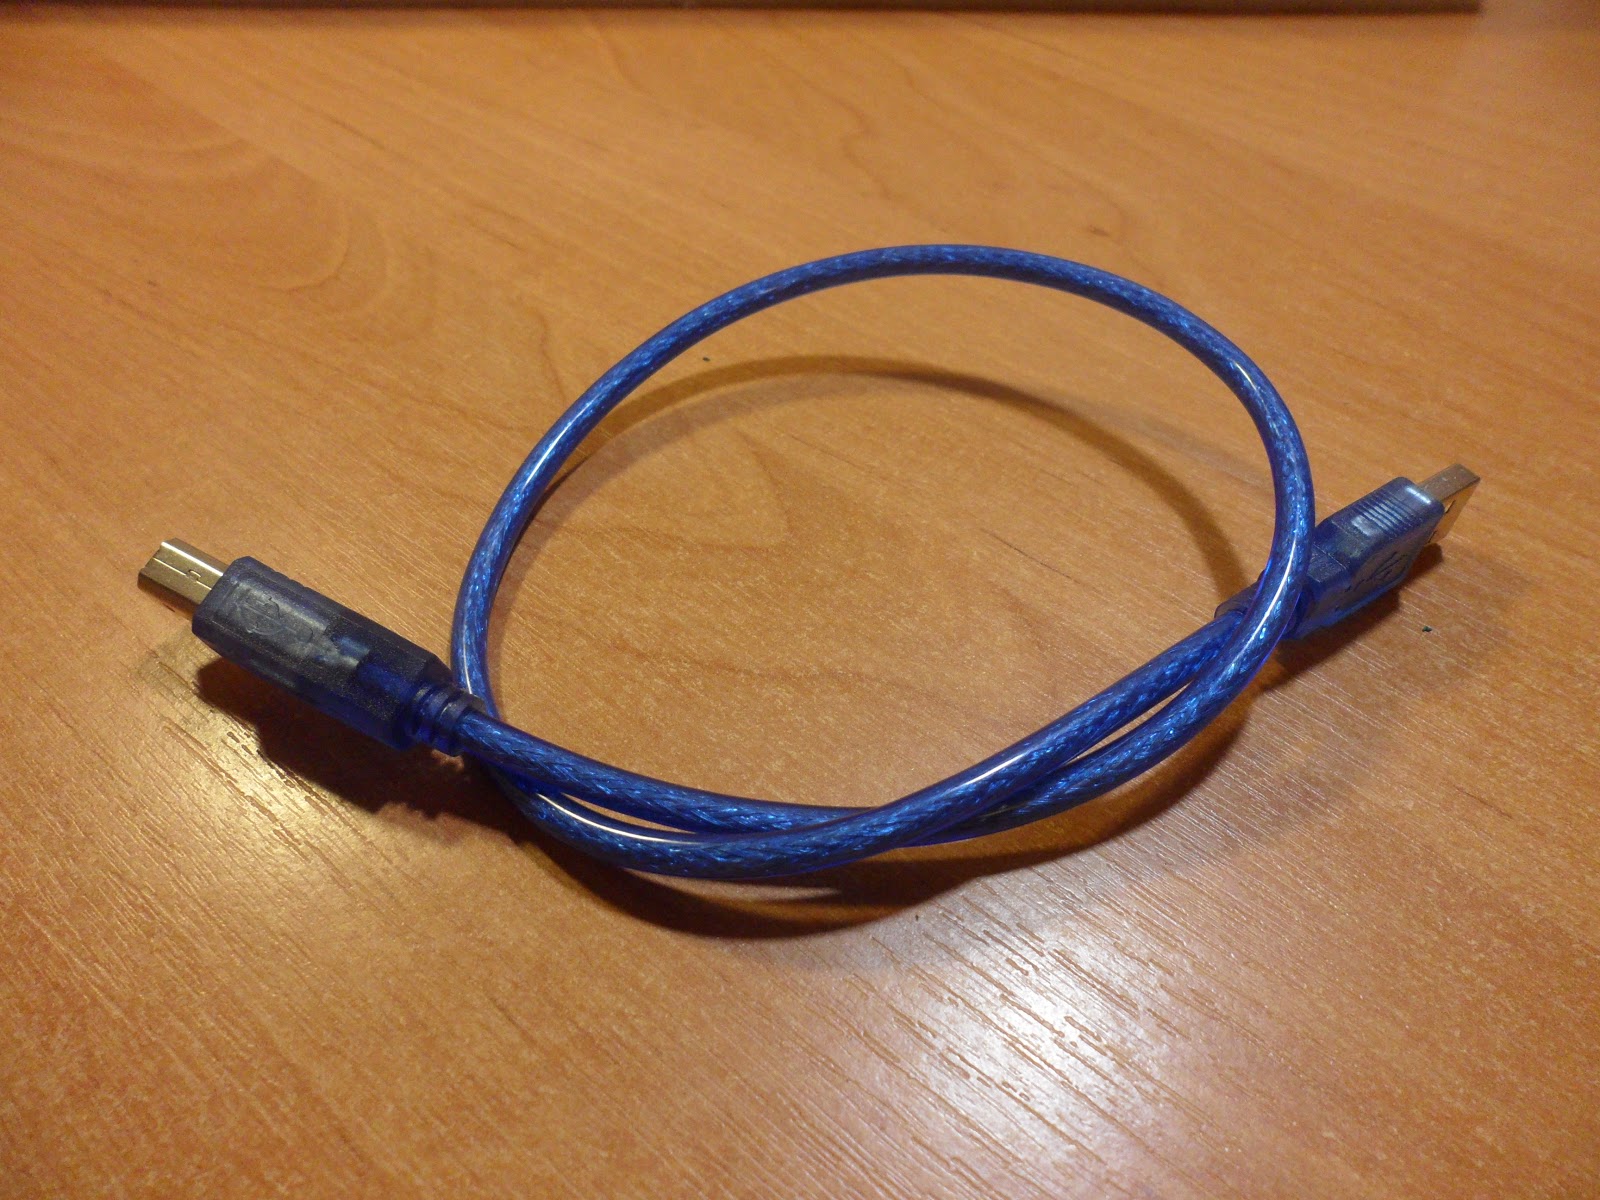
Connection: Via USB cable to the computer, it is also possible to upload G-code to the SD-card.
Operating systems supported: Windows XP,Windows Vista,Windows 7,MAC O;
Material of filament: PLA,ABS,HIPS,Wood,PVA,Nylon,Flexiable PLA,Copper fill (metal);
Thickness of filament: 1.75 mm;
Overall dimensions: 430х440х440 mm;
Weight: 8.5 kg.
I purchased basic configuration. You can take immediately with two or three extruders and an enlarged print table.
Main features:
Printing area (x,y,z) - 200х200х200 mm;
Layers' resolution - 100 micron;
Maximum speed of printing: 150 mm/s;
Printing accuracy: 0.1-0.4 mm;
Printing head: from 1 up to 3x pcs.;
Positioning accuracy along axes x,y: 0.012 mm;
Positioning accuracy along axis z: 0.004 mm;
LCD display: available;
Nozzle temperature: minimum 260 °С;
Power block: DC 12v/250;
Connection: Via USB cable to the computer, it is also possible to upload G-code to the SD-card.
Operating systems supported: Windows XP,Windows Vista,Windows 7,MAC O;
Material of filament: PLA,ABS,HIPS,Wood,PVA,Nylon,Flexiable PLA,Copper fill (metal);
Thickness of filament: 1.75 mm;
Overall dimensions: 430х440х440 mm;
Weight: 8.5 kg.
Parcel and configuration
I remember well that autumn evening when I received the package. Through dark, wet streets I pacing home, frightening rare passers-by with beaming smile and a big yellow box at the tilt. Thus began a new stage in my life.I made a purchase on the official website. The price made up 210 US dollars + 30 US dollars for delivery to Ukraine.
The parcel represents a box 230х470х340 mm made of thick cardboard. Weight is 8.35 kg
Along all corners and vertically cross to the cross, it is pasted with yellow tape. Marking, bar codes - everything is available.


There are a few small dents and bruises on the box. But my concerns were useless the content was safe. Getting ahead I will say that an additional layer of thick cardboard is installed near the walls in the box itself.
 Opening the parcel. The printer parts are layered into trays of dense, packaging, foamed polyethylene. Further everything is arranged in layers.


 Everything is neatly arranged to it places.

Now lets take a closer look at parcel content.

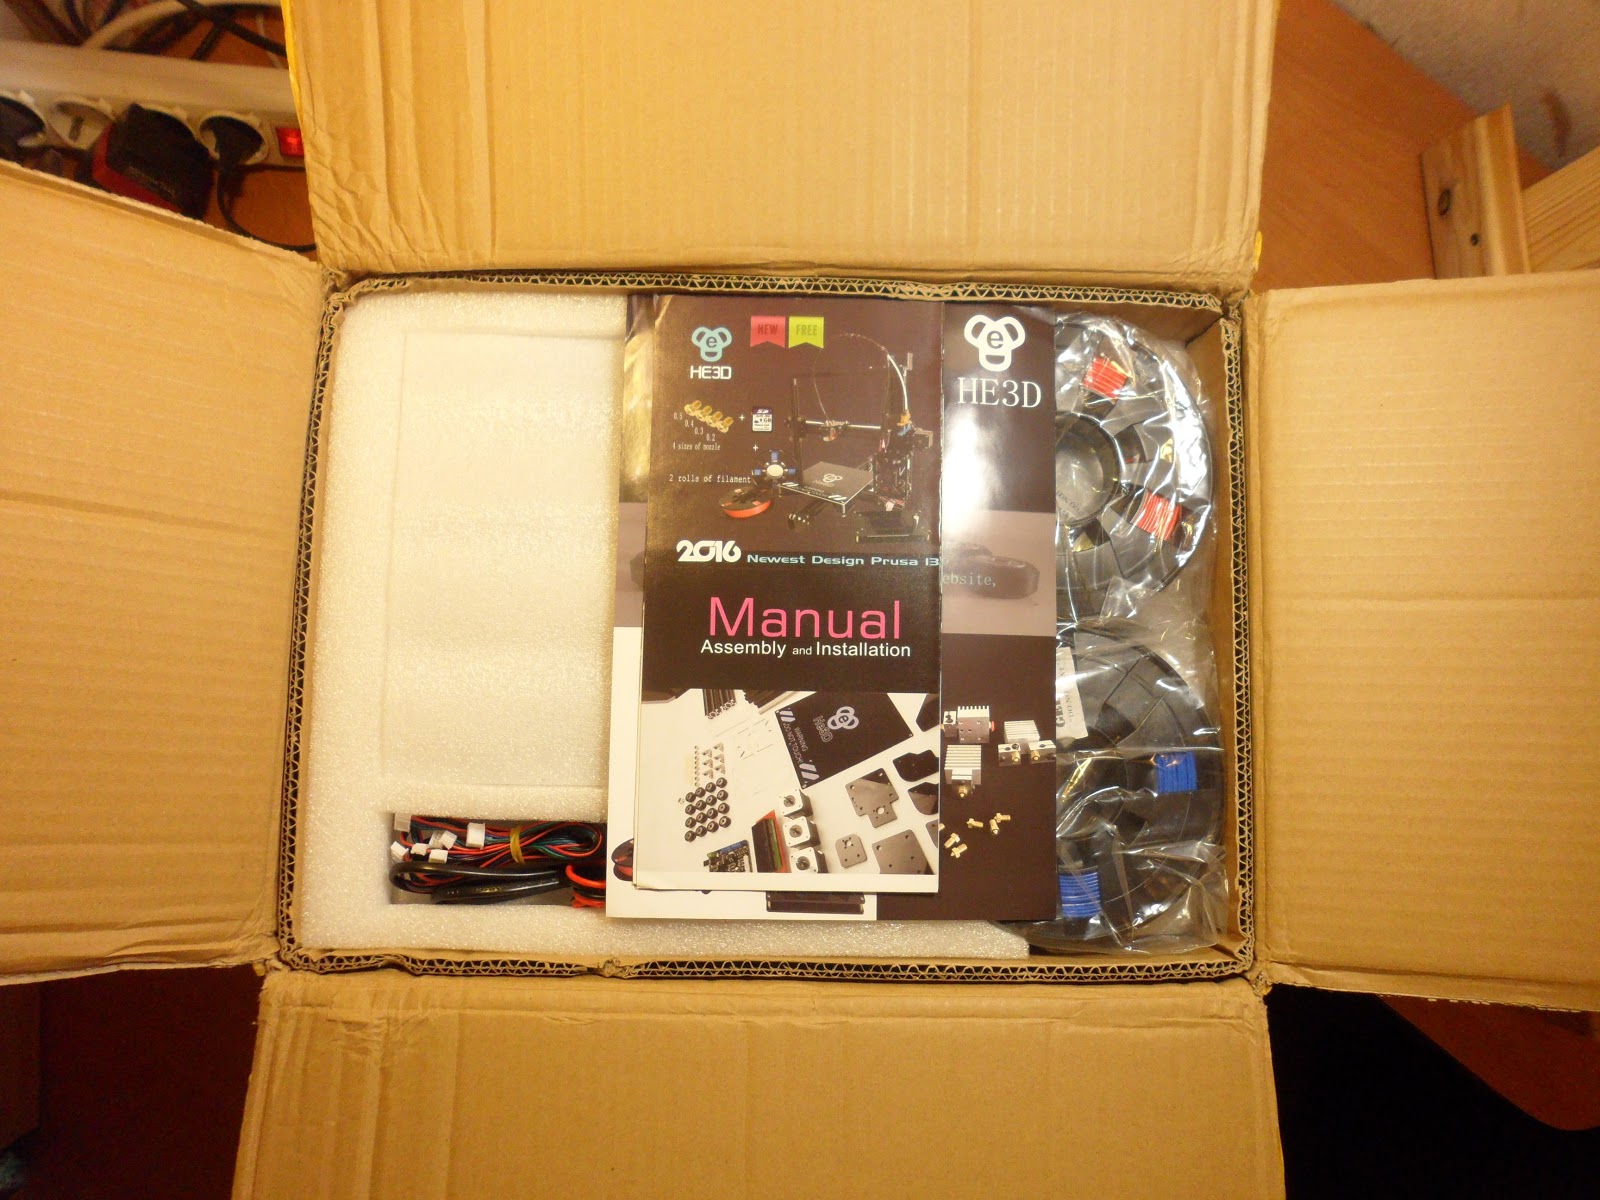


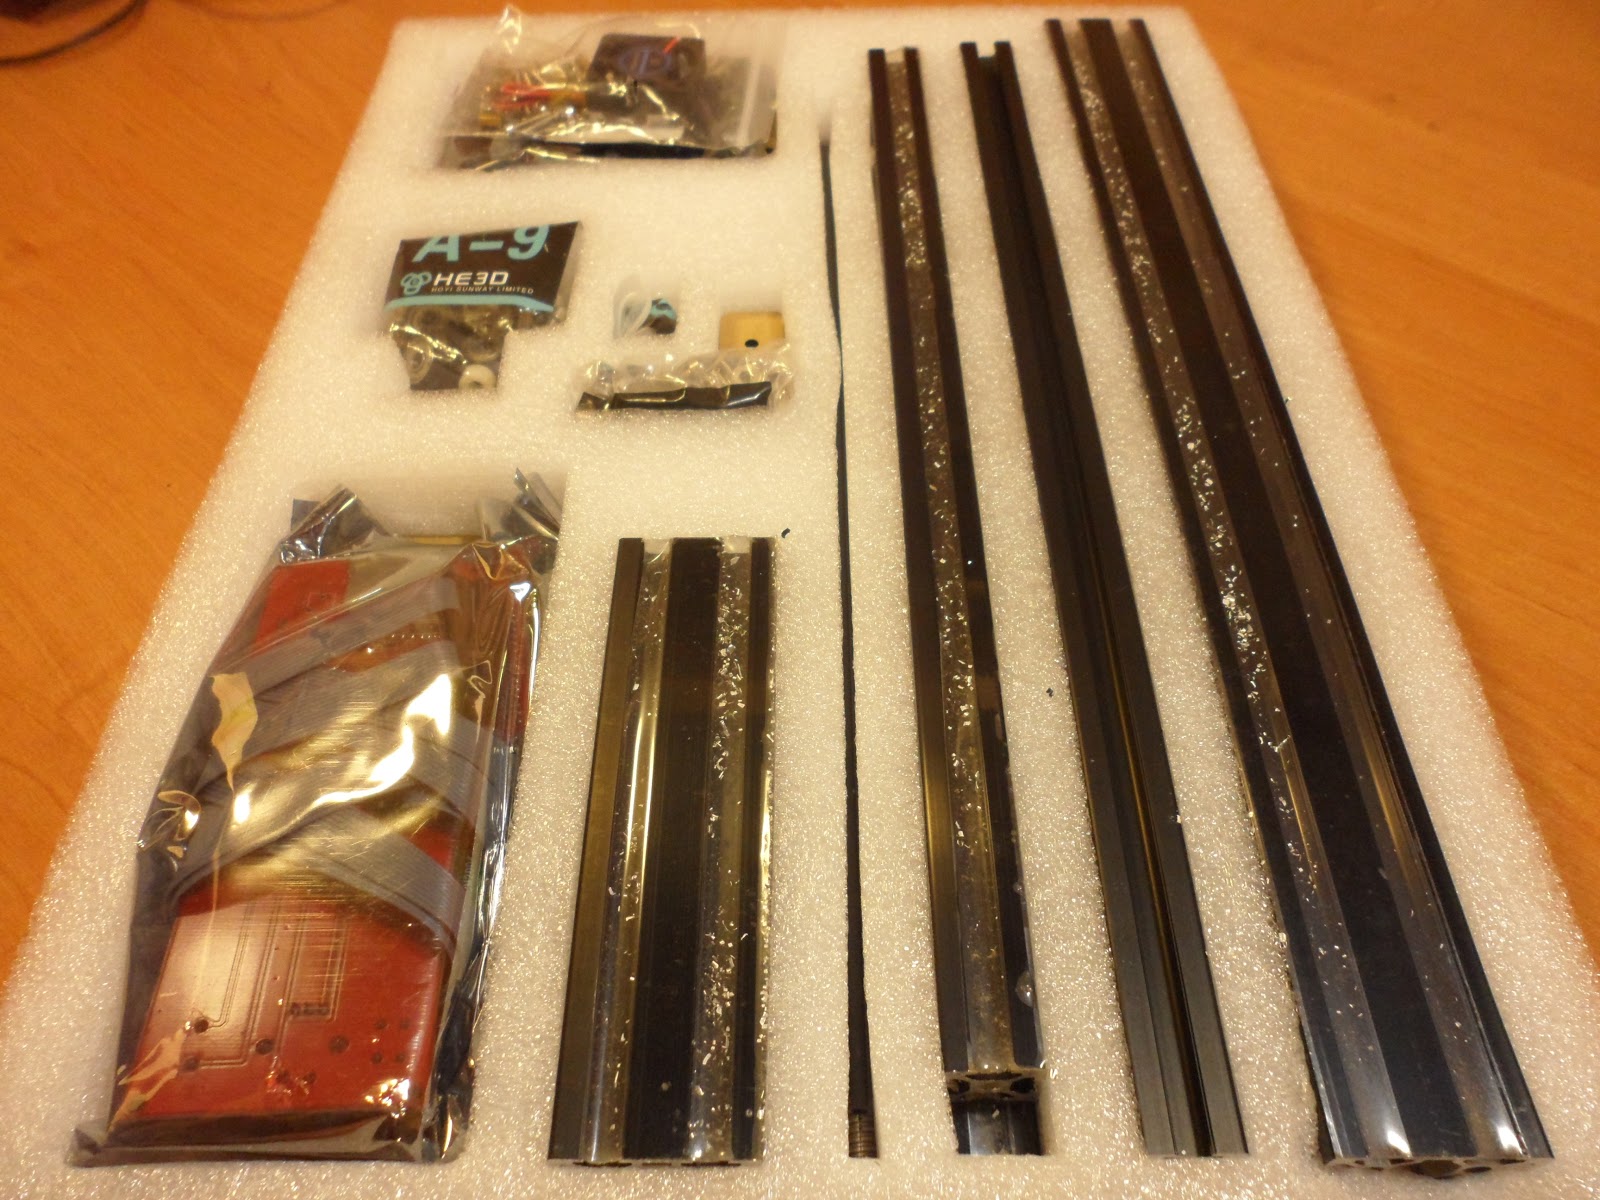
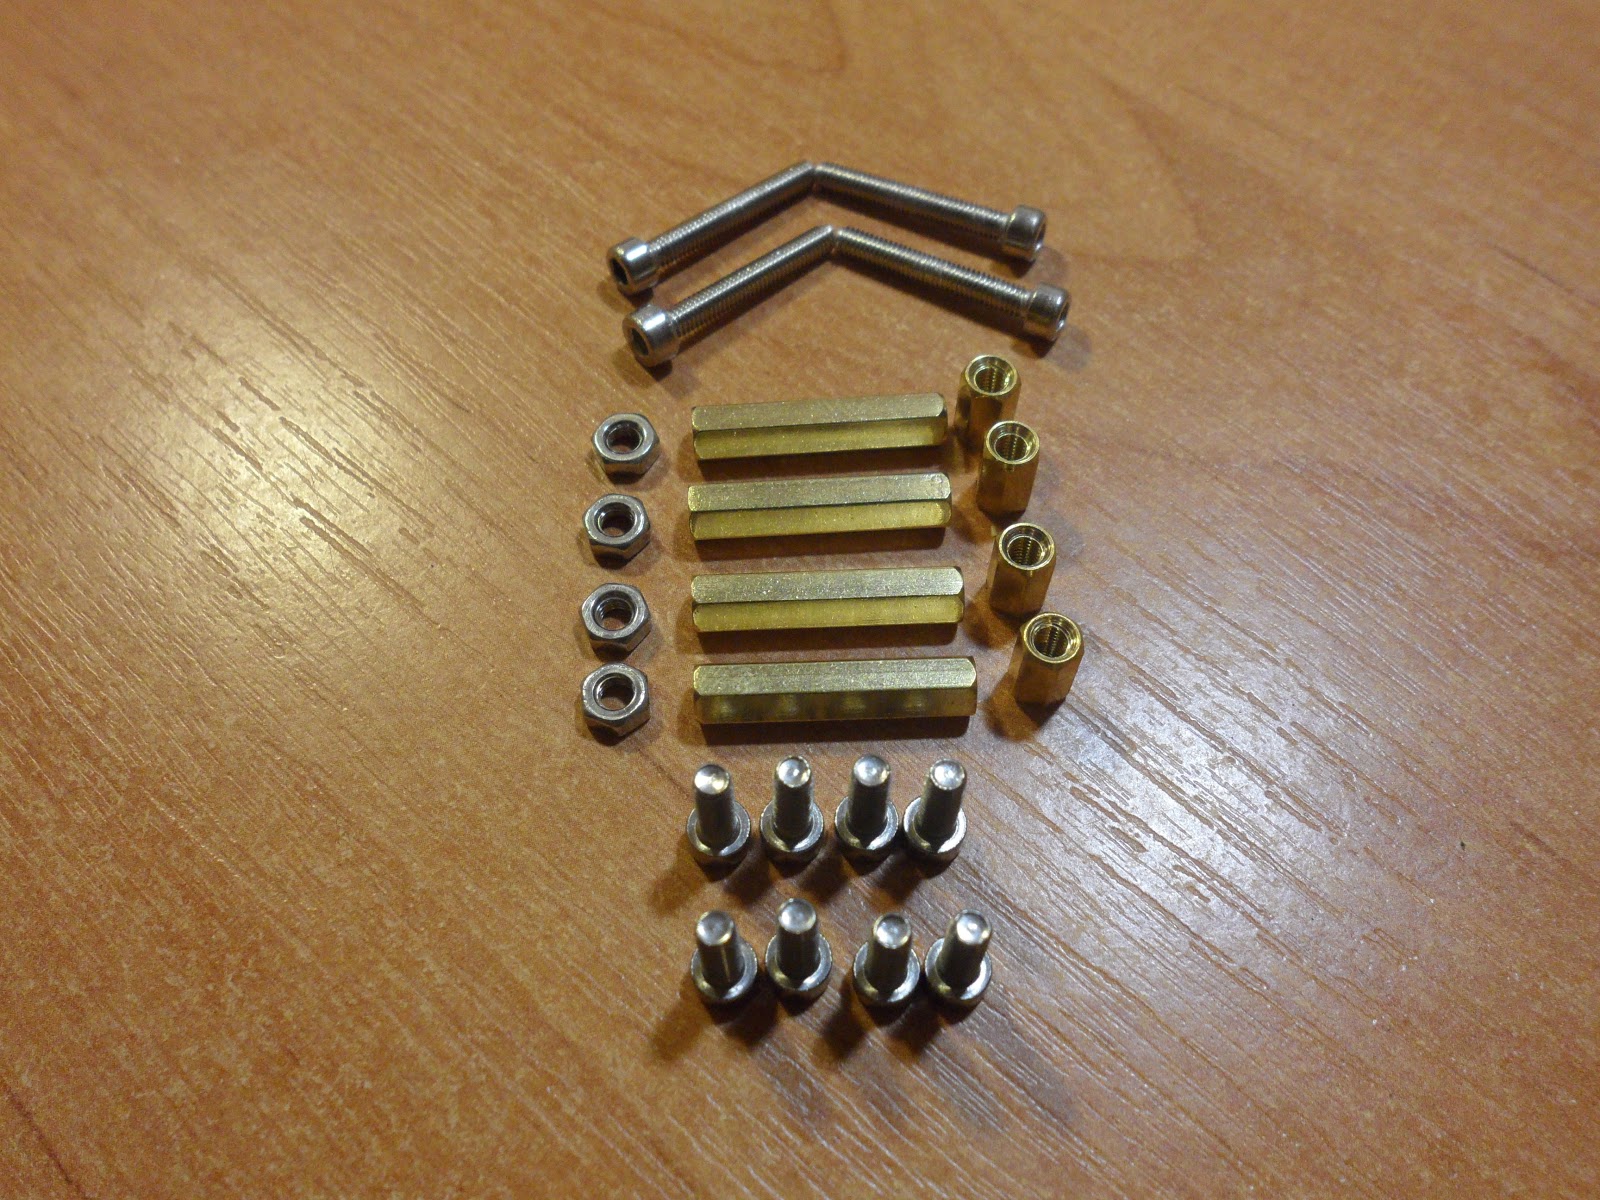
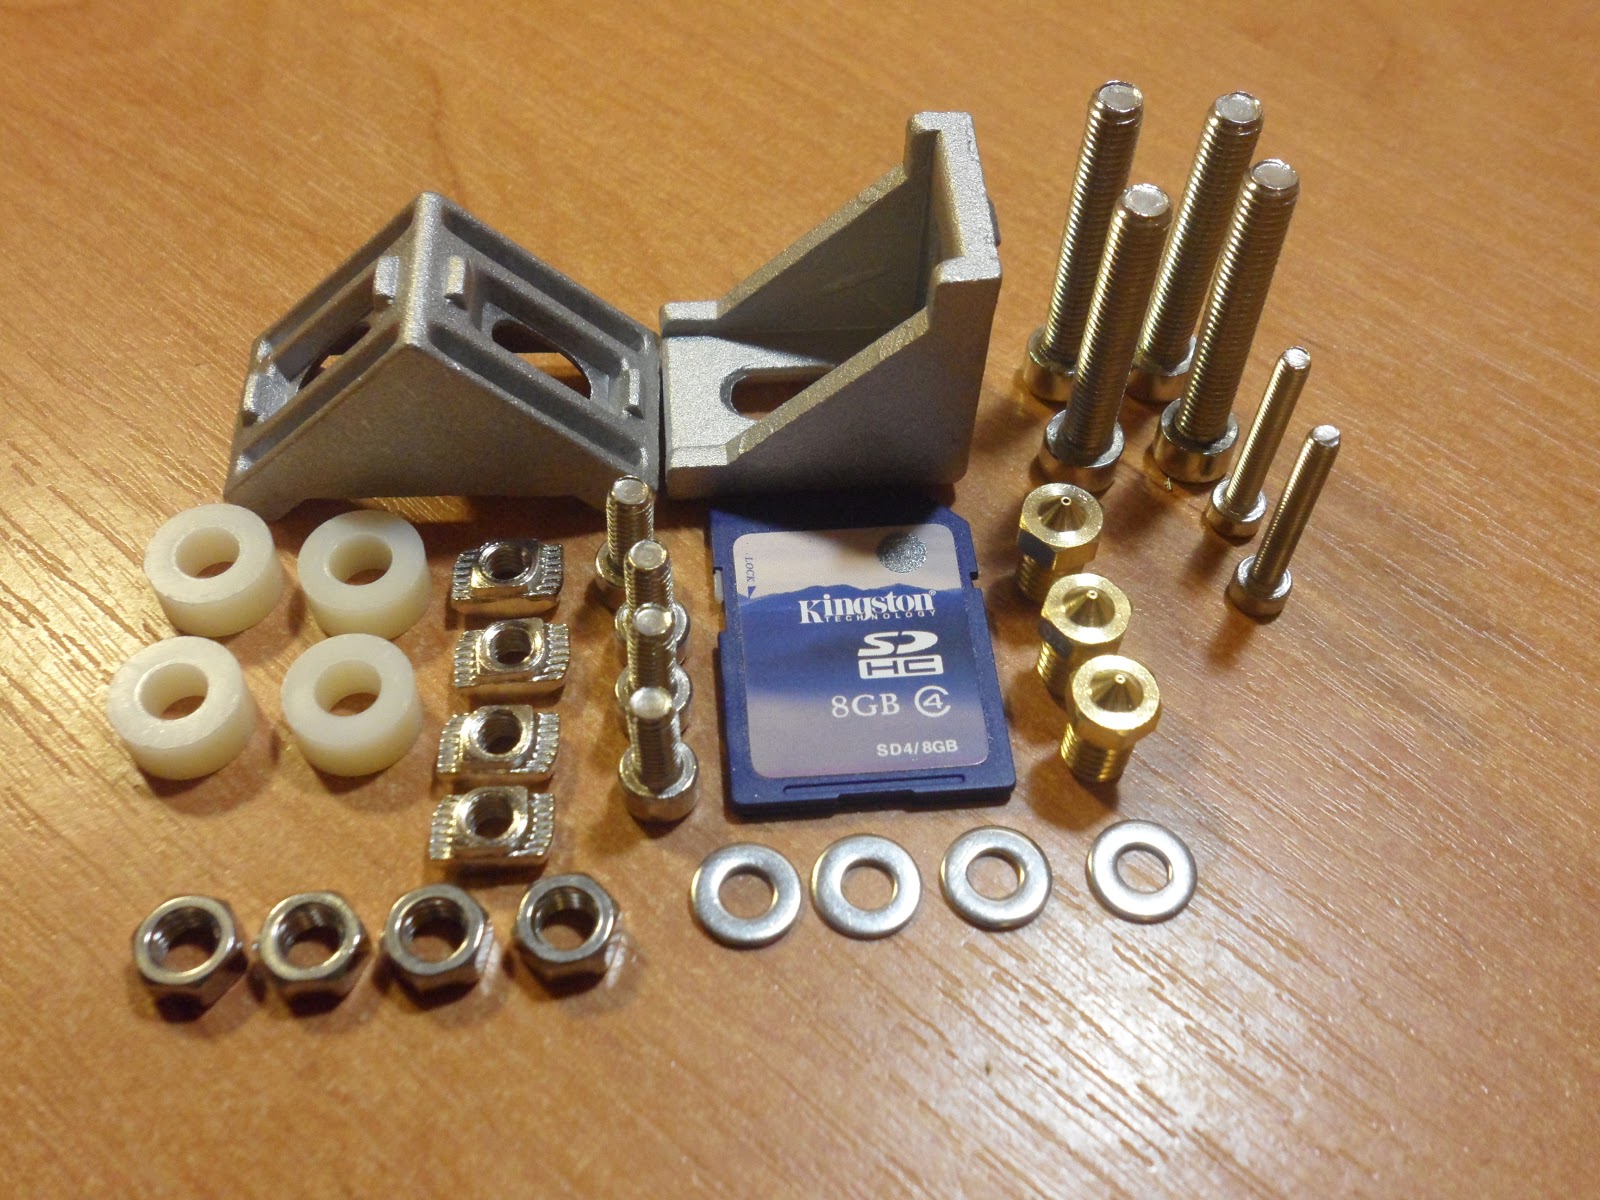
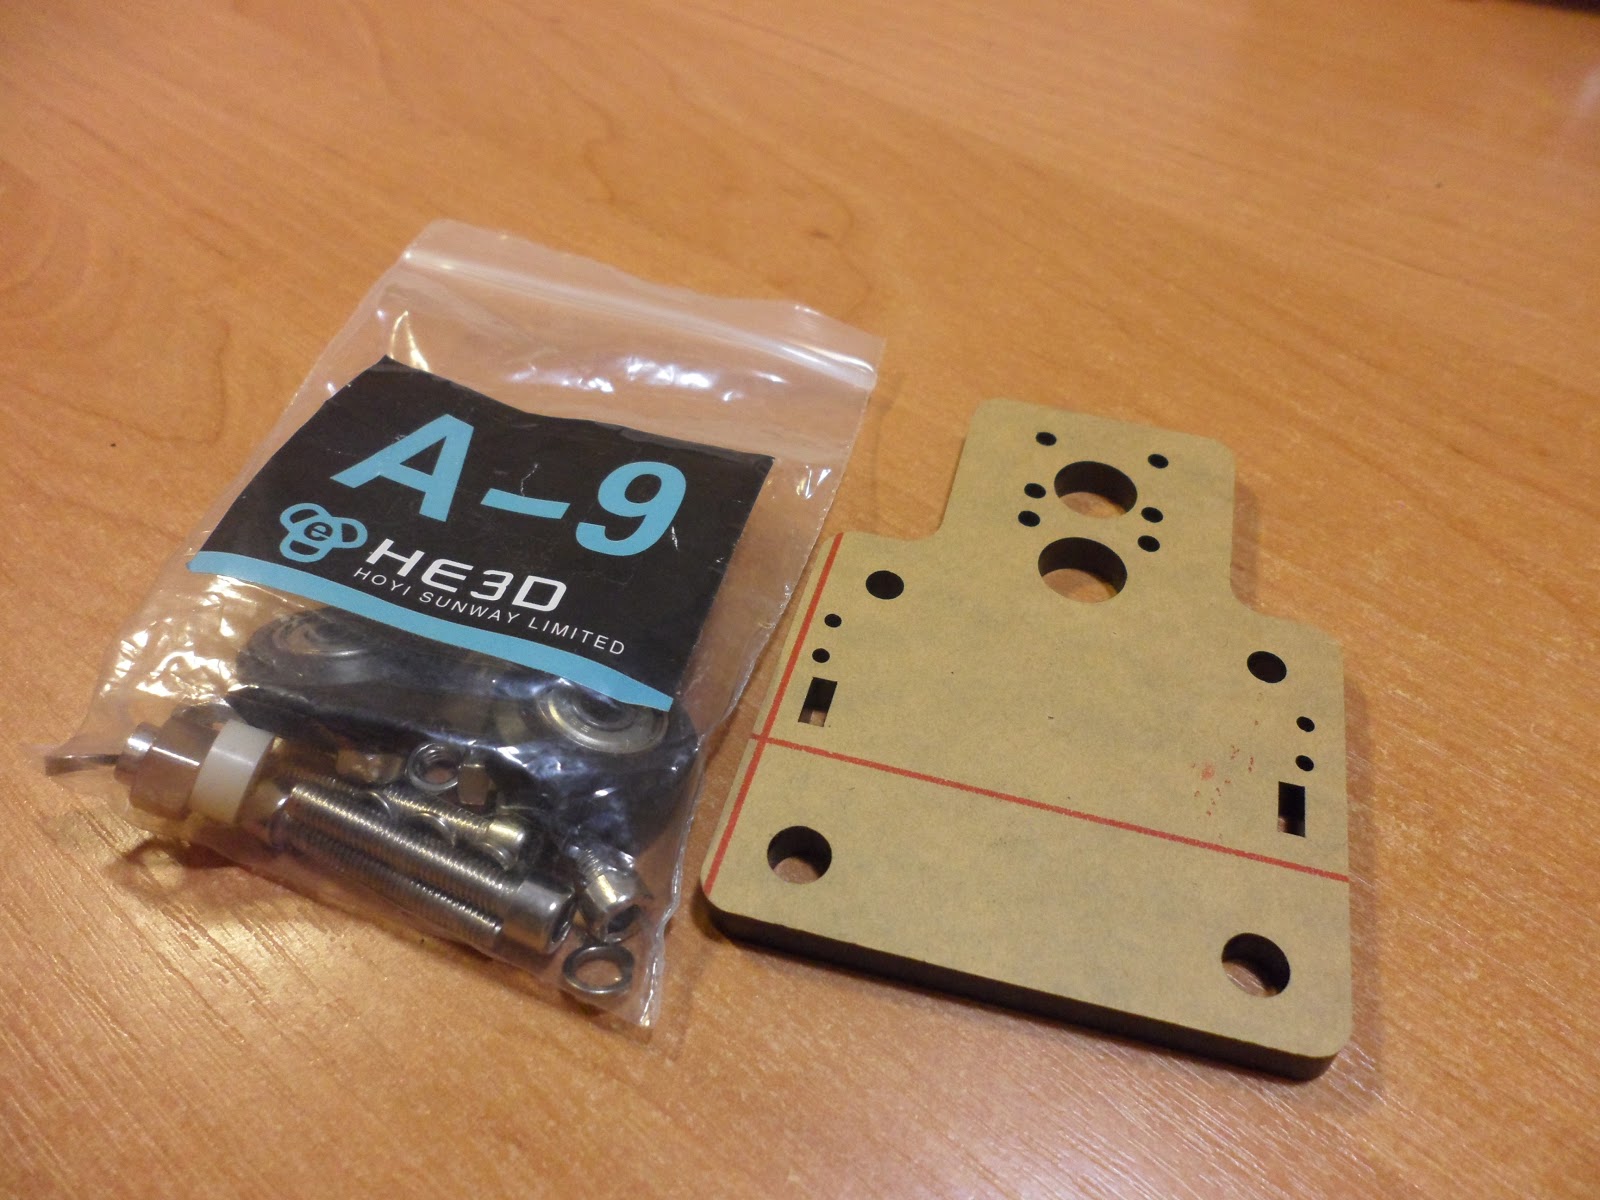
All small parts are packed in packages marked according to assembly order and area. Beneath there are filled packages.


Assembling
The set comprises almost 500 pieces ( 478 pcs. + 8 tools). In addition to the enclosed set of tools we will need the following: cross screwdriver, scissors and/ or stationery knife, tape-measure or a ruler. Short paper printed manual with pictures and not very detailed video guide on the enclosed SD card (the same is also available on youtube) are brought to assist in assembling the unit .
I've spent 5-6 evenings on assembling. But mostly because of post-repair mess and shooting the video. Optimum assembly time I can estimate as a day or a couple of evenings with no rush.
I've spent 5-6 evenings on assembling. But mostly because of post-repair mess and shooting the video. Optimum assembly time I can estimate as a day or a couple of evenings with no rush.
Picture from the manual.


In the beginning I wanted to do a review with an accelerated video of entire printer assembling in a long shot, but then I rejected the idea in favor of a more detailed assembly video and I hope that my simple work will help someone.
If you spot some mistakes - give me a feedback.
The assembling will be in the following format: A photo of assembly parts set - assembling video - photo of the result, except for a few exceptions.1. Assembling carriage of axis X


14. Installation of carriages


16. Assembling and installing unit of filament stick feeding to extruder


22. Mounting limit switches


23. Connecting printing head


Bunch with tube to plastic spring.


Here the spool hanging on a large nail inserted into the profile, but it is not the best engineering solution. Alternatively it would be possible to raise the plastic feeding unit higher, and the place spool fixing piece on the profile below it.
I would also want to add that all bolt connections should be tighten firmly and there should be no free motion or play.
Having assembled the hardware part we proceed with program part. I will not describe this part in great detail. The printer is configured and prepared for work quickly and easily. But I'll pay attention to some of the difficulties that I have faced as a beginner although I will not repeat the obvious things.
Content of SD card enclosed to the printer.

- folder "Automatic leveling" contains a model for printing with fasteners for the induction sensor. Photo of correct assembly, connection diagram and calibration method.
- Folder "Cura" and "cura设置" contains installer of slicer and pictures of settings values.
- Folder "firmware" contains firmware for single- and double-extruder version of the printer with screenshots of settings in the slicers. And also the code for the auto-level.
- Folder "USB driver" contains three drivers.
- Folder "video" contains assembling video manual.
Installer RepetierHost_1_5_4 is in the root folder.
Software. I downloaded and installed the latest versions of Cura, RepetierHost and I had Arduino IDE 1.0.6 already installed.
I installed USB driver the following way. After connecting the printer moved to the System - Device Manager, then found undefined USB controllers, clicked "Update drivers - perform a search on this computer." Then I indicated the folder with the drivers on the SD card. Further. Close or OK.
The installation of Cura and RepetierHost was done using the screenshots on the SD card. Substituting the values in the corresponding cells. Carefully and slowly, nothing complicated.
With the help of Arduino IDE installed the firmware onto the board. The firmware itself is in the "firmware folder". In the settings of board (board) I chose Arduino Mega 2560. Serial port that I have is COM3.
In brief about the initial setup. After a successful connection there is a simple test by slight warming the table, extruder, to drive steppers along all axes. Then I finally set and fixed the limit switches. Then I drove the carriages along all axes, using the ruler I discovered that the set movement coincided with the actual one, i.e. calibration was not required.
Printing and operation
In my communication circle, only a few could imagine arrangement and operating principle of a 3D printer. And after the admiration of the novelty, there is usually a question: "Well, what else can you print on it?" Earlier I rushed bending fingers to list the applications, now I just say: "Everything!". Literally everything. And what can not be printed can be made by using the printer indirectly.
This section contains photos of not all printed models, but most of them. Especially a lot is given out for holidays as gifts and like presents (and advertising).
For all time of ownership of the printer, I have not printed and printing as much as I would like to. Totally eight days and almost a kilometer of filament.

Printing using PLA plastic was only in the beginning. I use it for certain projects. For example now I'm modeling a set of confectionery nozzles for a gift.

Nozzle of the He3D extruder under a microscope. At the beginning of a clip, a bit of overheated plastic (ABS) is squeezed out of the nozzle (diameter 0.4 mm) under gravity. Pay attention to the loose structure. Closer to the end, I turn on filament feed - the plastic starts to exit quickly and smoothly - the operating mode.
To bring a USB microscope, with a short focal length, to a hot and fast moving print head is such a hassle. Nozzle with diameter of 0.4 mm, layer thickness 0.2 mm, default speed in Repetier-Host and Cura. Video without acceleration. The model is a box with a wall thickness, if my memory does not change of 1.2 mm. Made for shooting. It is interesting that even for such narrow gap the slicer encoded the fill. In the second part of the clip you may clearly see short extrusions between the walls.
One of the first prints is test cubes.


\


A big frog.

A few words about defects. In the process of setting up, adjusting and gaining experience, for reasons depending and independent on you, defects will happen sometimes. Another thing is that for 3D printing the concept of "defects" is rather conventional. Parts of the defects (pieces, debris) will be used for making a jelly from plastic - multi-purpose glue and mastic. And the other part can be repaired or used somehow. Below is an illustrative example. A big frog. In the middle of the printing process there was an interrupt (I do not even remember why). It would seem that you should put it to a can with solvent. But after looking at it at a different angle I saw it as an original soap holder for the bathroom. Everyone likes it, especially children. Yes, and soap does not get wet.


An excellent example of blowing unit. I never bothered myself with fine adjustment, but air-blowing improves the quality by that far. Moreover some parts cab not be printed without air-blowing. Although it requires experience in setting different printing modes. First I printed several versions for other models, but then I realized that it would be faster and cheaper to make air-blowing myself. I recently finished the last edition. It is efficient but still requires minor improvements. It can be downloaded here


In the process of unboxing the parcel I lost one end plate for fixing limit switch. It can be downloaded here.


Use in the household. The handle of the drawer styled as one popular, transnational, furniture corporation.


Once there was an urgent need to precisely connect the two PVC pipes. From the moment of model creation till the end of printing is 10-15 minutes.

Case for Orange Pi Zero.


Printed in two different ways.


When the printer is operating the heat is being generated. But on a scale of the room it is noticeable only after hour work.
An example of application in modeling. A friend asked to make chain tracks for tank models. Having measured the sample

Printing with a 0.4 mm nozzle without air-blowing does not give the best results. With air-blowing it's almost what you need, but the nozzle of smaller diameter is better.


One of the first things printed. The famous tree frog (PLA).


The printer allows you to solve problems quickly. Good example. While making a review I hastily modeled a fastener for the camera for the convenience of photography. As simple & functional as possible and bolted.


Prototyping. An exact copy of the nuclear warhead (Mini Nuke) from the world of the Fallout game series was modeled for one project. To check the threads and proportions, I printed several pieces on a reduced scale.


Famous four-ring gyroscopic relaxing keyring. Calms and develops arm fine motor skills. A good gift, a souvenir, a present.


The option of fixing a digital snapshot camera on clothes or belt.


Maintenance of the printer
A 3D printer can not exist by itself. As a technical unit, with its capacity and performance it is maintained by a whole kit of tools, fixtures and spare parts. In this section I will write about them.
Most commonly used: Pair of pincers with straight ends, scissors, a set of needle files, cross screwdriver and an old knife from wood carving set.


A little clerical knife. with size of an ordinary ballpoint pen. It is very handy. It is an irreplaceable thing in post processing. Small, convenient,extraordinarily manoeuvrable and functional.


Washing of plastic
For a long time I haven't had for washing. For a review I assembled the simplest variant from material available in the garage. I bought only polypropylene box. The controller has been gathering dust for more than half a year, since it was not suitable for the project for which the same had been bought.Materials: Temperature controller, small boiler, a wire, a plug, an extension cord, a polypropylene box and an old aquarium filter.


Operation procedure The tank is filled with water, into which the boiler, the pump and the sensor is immersed and the tin with ethyl acetate and the workpiece on the stand to be processed pressed down with laboratory tripods,
Work algorithm. We set the temperature and wait for heating to the preset temperature. Each element fulfills its designation. The boiler heats, the pump mixes, the ethyl acetate is evaporated intensely and condensed to wash off the unevenness.
The device is assembled in operation. Note. In this picture the temperature sensor is immersed next to the heating element. But it would be more correctly to place it in the far point from the boiler.


Here is a rough and fast typed gecko before washing.


Interesting observation. At prolonged exposure to solvent vapors, the entire part becomes very plastic, almost like plasticine. This allows you to bend, twist, stretch it as you like because after hardening the shape will be preserved. This allows to cut the thread with a bolt in soft plastic, or adapt the plastic part to the desired shape. Very ample opportunities for fine-adjustment and fitting.
I have plans to make a more convenient and serious washing - with forced circulation and pressure for a larger operating volume.
The technology of washing the plastic with solvent vapors offers a new level of product quality. Stratification & small defects disappear at washing. Obtaining smoothness and a glossy shine that allows to perceive the object differently.
In addition I want to caution. The vapor of the heated solvent evaporates more intensively. These vapors more in the liquid phase than before heating, this should be taken into account before the start of the process.
Print server
As part of the project to develop I plan to arrange a separate space for the printer, I decided to "pick up" the print server. Of course, it seems obvious to use a SD card, but this is only at first glance. The difference in the minimum limit of the beginning of application is much less than the difference in the top of the possibilities of using these two methods. In other words, complexity is compensated by a large functionality.In the beginning, slowly, in the background, I collected everything I needed: Micro 2 GB SD card, a card reader, on aliexpress I ordered Orang Pi Zero with 512 MB of memory, with power supply unit (5V-3A),


Having gathered everything I started assembling. Power supply via micro USB (5V-3A). From low amperage there are system failures, so you'd better use authentic or similar unit.


Next arisen the question of choosing the software - the actual print server. I didn't manage to understand how to work with Octoprint got bogged down. Much easier things went with Repetier-Server which is installed by two commands. Below is an example for the current version:
wget http://download.repetier.com/files/server/debian-armel/Repetier-Server-0.80.3-Linux.deb
sudo dpkg -i Repetier-Server-0.80.3-Linux.deb
sudo dpkg -i Repetier-Server-0.80.3-Linux.deb
You delete using command:
sudo apt-get remove RepetierServer
When after installation I decided to enter server page http://<ip oranges>:3344 through the browser, nothing was loaded. White window. I could see some pieces using IE.
 Attentive Google suggested that you should go to:
http://<ip oranges>:3344/?lang=enEverything worked out


http://<ip oranges>:3344/?lang=enEverything worked out

Then adding and configuring new printer. Everything is simple and intuitive.
Checking, everything moves remotely and warms - profit. Uploading G-code and printing.
Checking, everything moves remotely and warms - profit. Uploading G-code and printing.

In the near future I'm planning to get how to deal with Octoprint, connect a webcam and arrange power management.
In the end, I want to note that in the print server two cult devices converge - a 3D printer and a miniature single-board computer. They are from different planes, but equally significant and epoch-making in their fields.
In the future I will implement several other projects using Orang Pi family computers. But that is another story.
Plotter
I've seen such an upgrade long time ago. Wanted this for myself.
I decided no to invent plastic pen holder and downloaded from the thingiverse. Although it is not very suitable for my carriage, but it is fixed firmly.
I decided no to invent plastic pen holder and downloaded from the thingiverse. Although it is not very suitable for my carriage, but it is fixed firmly.


Despite the slight free play, it is a remarkable result.


Laser engraver / cutter
Close affinity, by design, FDM 3D printer with laser engravers / cutters allows simple transformation. There are dozens of projects of such modification and thousands of people have already implemented them. The methods of upgrade are very different: From those in which the laser is turned on via a switch by a piece of filament pushed by a stepper motor to completely separate control cards. But I chose the most optimal, in my opinion. The author nicknamed Jakes workshop put on instructables a project in which he remade a 3D printer into a laser engraver. A simple upgrade in my case was simplified even more. In He3D, the carriage structure has a hole, initially for the needs of the second extruder. That is a step with the replacement of the carriage I skipped. From aliexpress I ordered a blue-violet laser module of 500 mW, a wavelength of 405 nm with a power supply and a driver,


 protective glasses (I do not want to get problems with eyesight because of negligence).
 Then I modeled and printed a simple laser rack for the carriage. I uploaded it to the thingverse here (it needs a little more work).
 Installing and fixing the rack, installing and fixing the laser.

 Connecting the laser power to the power supply terminals.
 It's everything that concerns technical part. Installing Inkscape 0.91. For now, the laser plug-in works correctly only with this version. Downloading and installing the plug-in itself. Converting the image,
 Sending to printing.Eureka!


 Everything is wonderful, but not without a fly in the ointment. When converting to G-code there is a certain failure, and as a result the carriage does not completely pass through the burning line. It's hard to say what's the reason for it. I will try to get it and for now I wrote a message to the developers of the plug-in. While on the other hand in one case when cutting paper (see below fractal) it was burned correctly and twice.
Picture of lines are about 500 times magnified.

 It cuts paper in two passes at this speed. Fractal.
 Engraving leather.
 Impressions. The laser is good. But in order not to sit constantly in glasses and not risk injuring relatives and friends it really needs a box. And preferably with exhaust ventilation. There is a distinct smell of burnt paper in the room after 10-15 minutes of work. I am silent about the leather
But glasses in any case is an obligatory attribute. Even reflected light from the laser is perceived as a microweld without glasses. Although a picture of it does not convey it to full extend but the difference can be seen very well.

 I'm planning to install more powerful laser module and fix the problem with under-burning.


Picture of lines are about 500 times magnified.


But glasses in any case is an obligatory attribute. Even reflected light from the laser is perceived as a microweld without glasses. Although a picture of it does not convey it to full extend but the difference can be seen very well.


Conclusions
I am very satisfied with the printer. This is my most significant purchase in the last few years. Not in terms of money, but in influencing interests and hobbies, world view and opportunities. For example my thinking has changed. Thinking about solving the problem, now the question always arises: "How can I apply the abilities of the printer?" And often the answer to this question leads to a solution.
And although the review is voluminous, there are a lot of photos, videos and text in it, I can not say that it is 100 % completed. There are many things you can add to it. For example, experiment with nozzles of different diameters, multi-colored printing, installation of auto-level. Printing with different materials: From exotic plastics and PET from bottles to clay and chocolate. Add another extruder or even two and enlarge the printing table. Upgrade the printer to the simplest mini cnc-machine. Make a cabinet for the printer with exhaust ventilation, lots of drawers and simple automation. Create own filament extruder. Simple scanner. It's just a chain reaction of opportunities.
Low price of the printer is an important point. The budget is not bottomless and you learn how to save money. In its turn the printer itself can become a source of savings and profits, limited only by imagination: printing cheap copies of expensive branded parts (for a car for example) and printing unique pieces for yourself and others, by order basis.
I recommend the printer. Join, I promise, it will be interesting.
You can buy here
or here
ОтветитьУдалитьОчень хорошее видео, но не показывает все концевые выключатели. Где вы нашли инструкции по сборке? Я только нахожу ваше видео. wb2dyb@gmail.com
Спасибо! К бумажной инструкции была карата с видео по сборке, но не очень подробное. А с концевиками там не сложно.
Удалить